How to Create and Configure Custom AI Chatbots
Learn how to launch intelligent, branded AI agents trained specifically on your company data. Customize their tone, system instructions, welcome messages, and visual interface in a few clicks.
1Creating a New Chatbot in Bot Studio
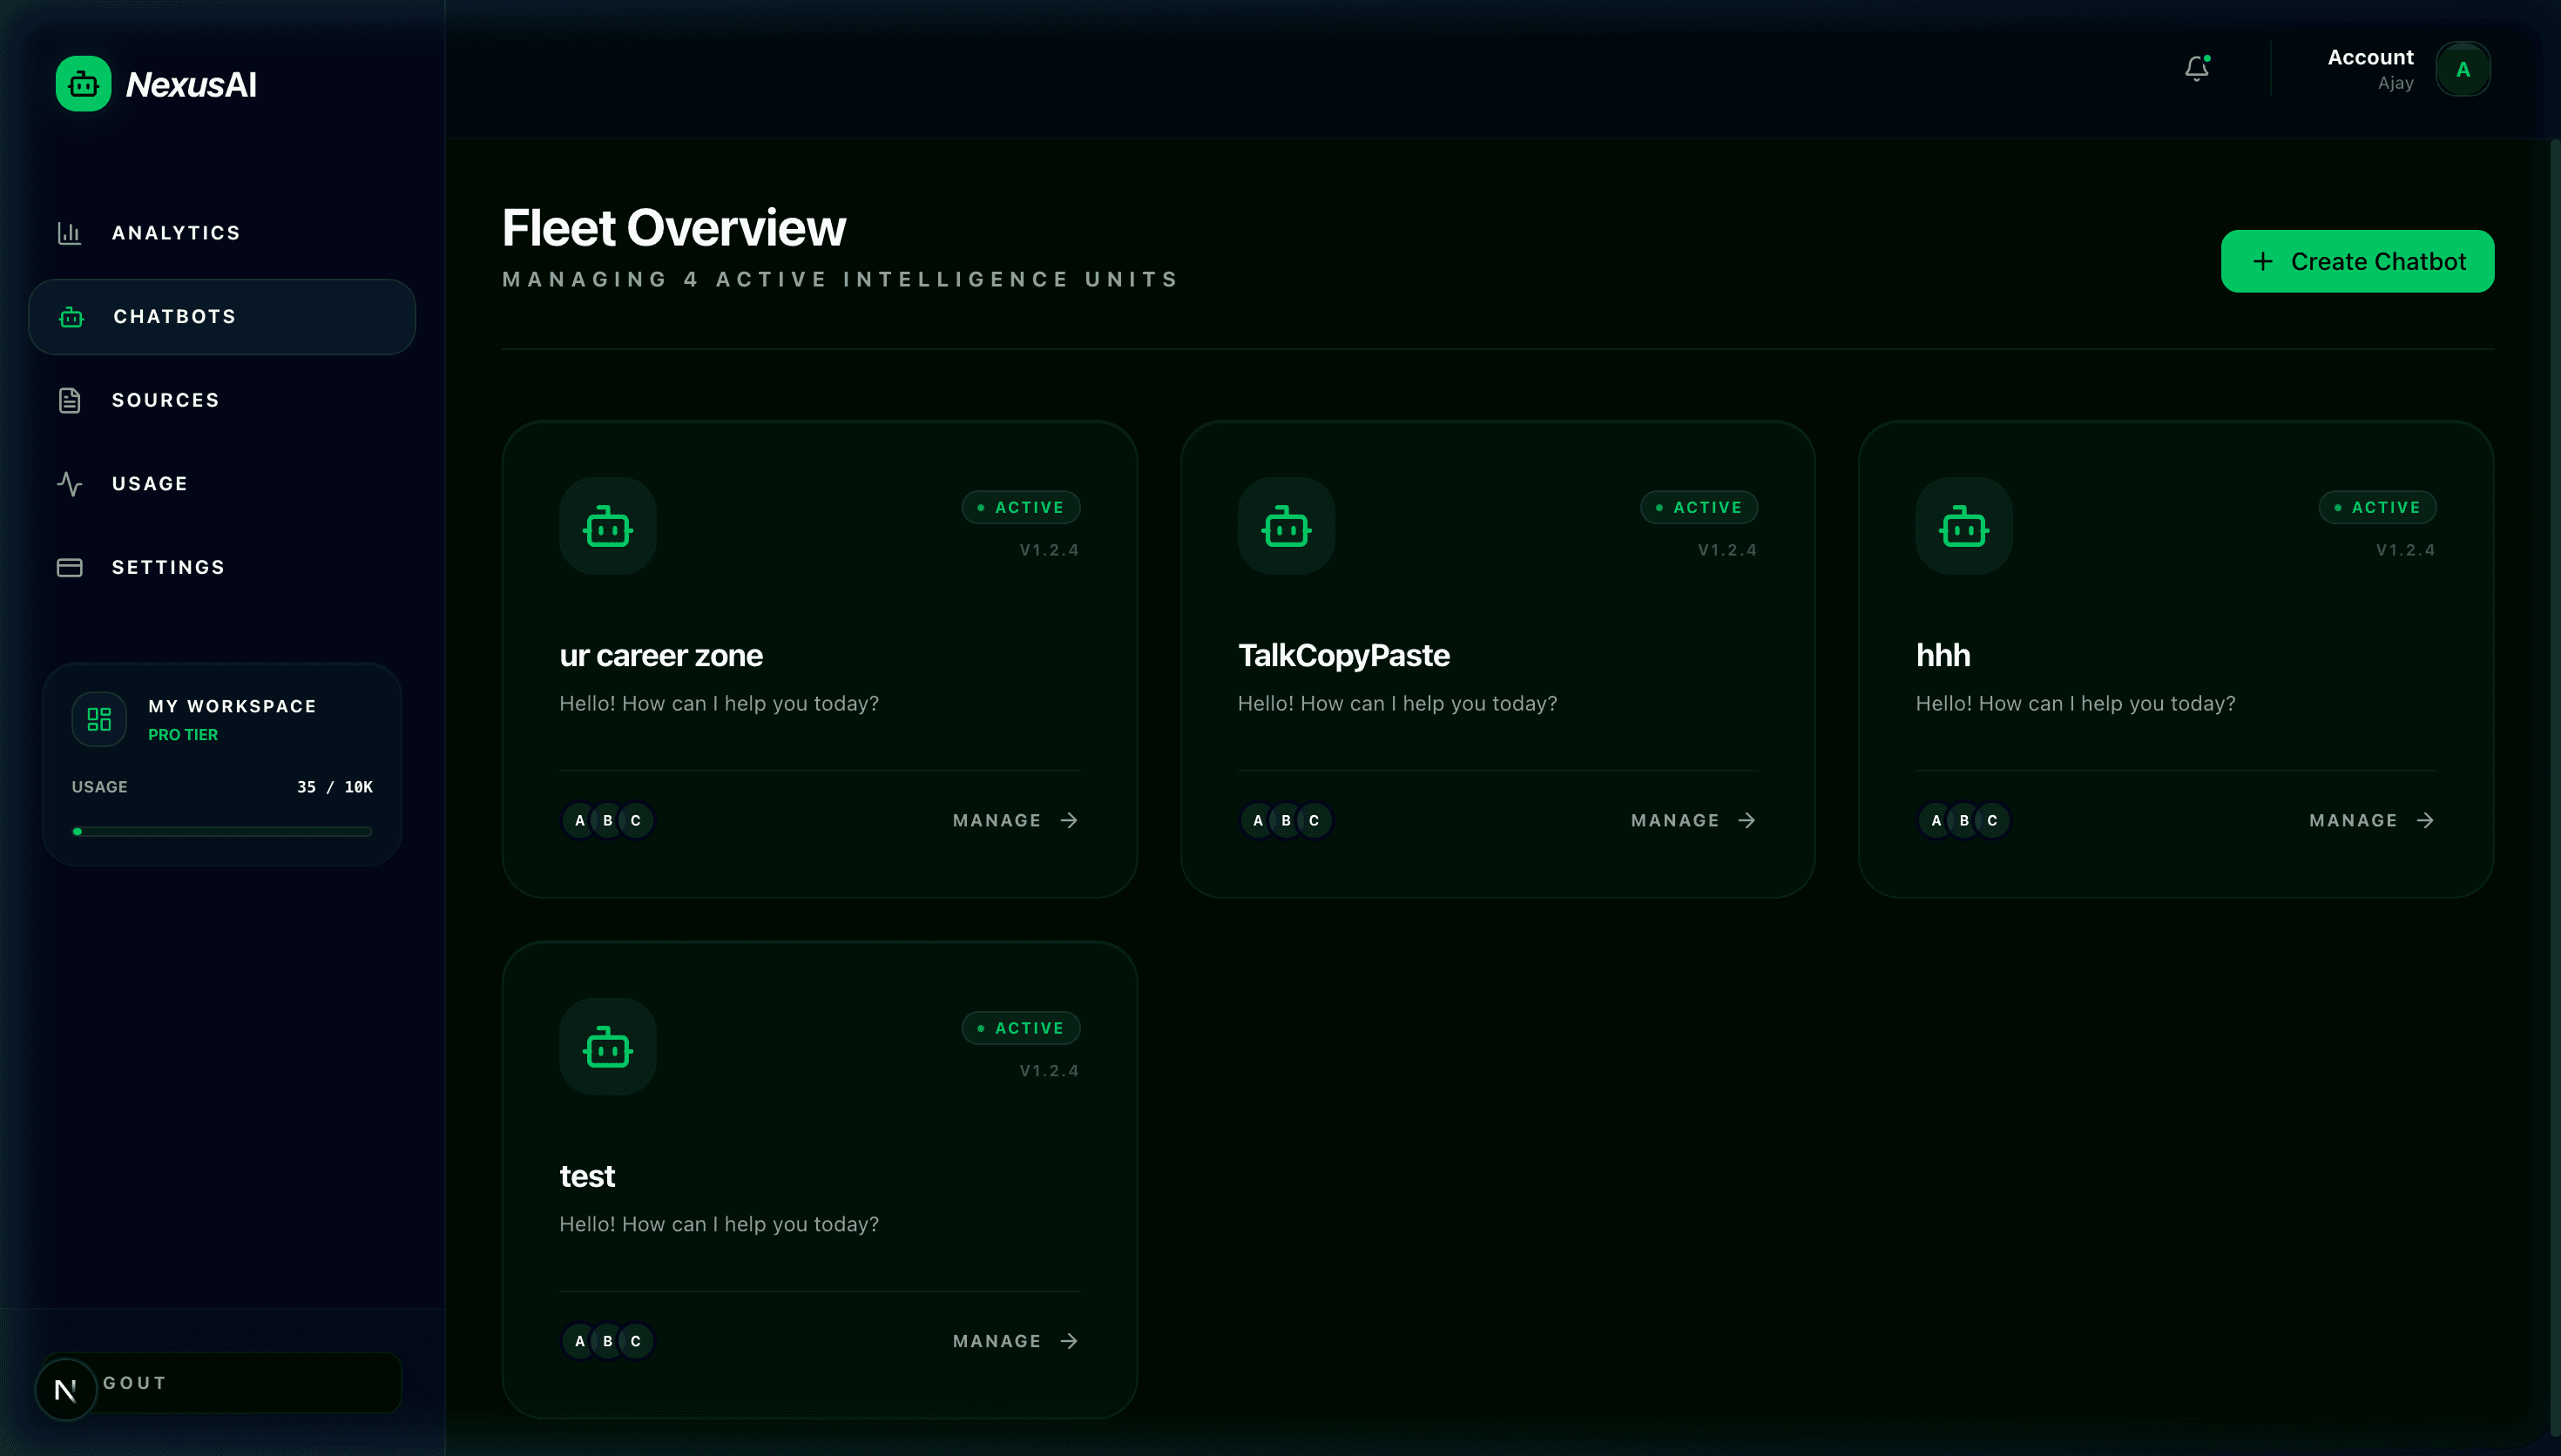
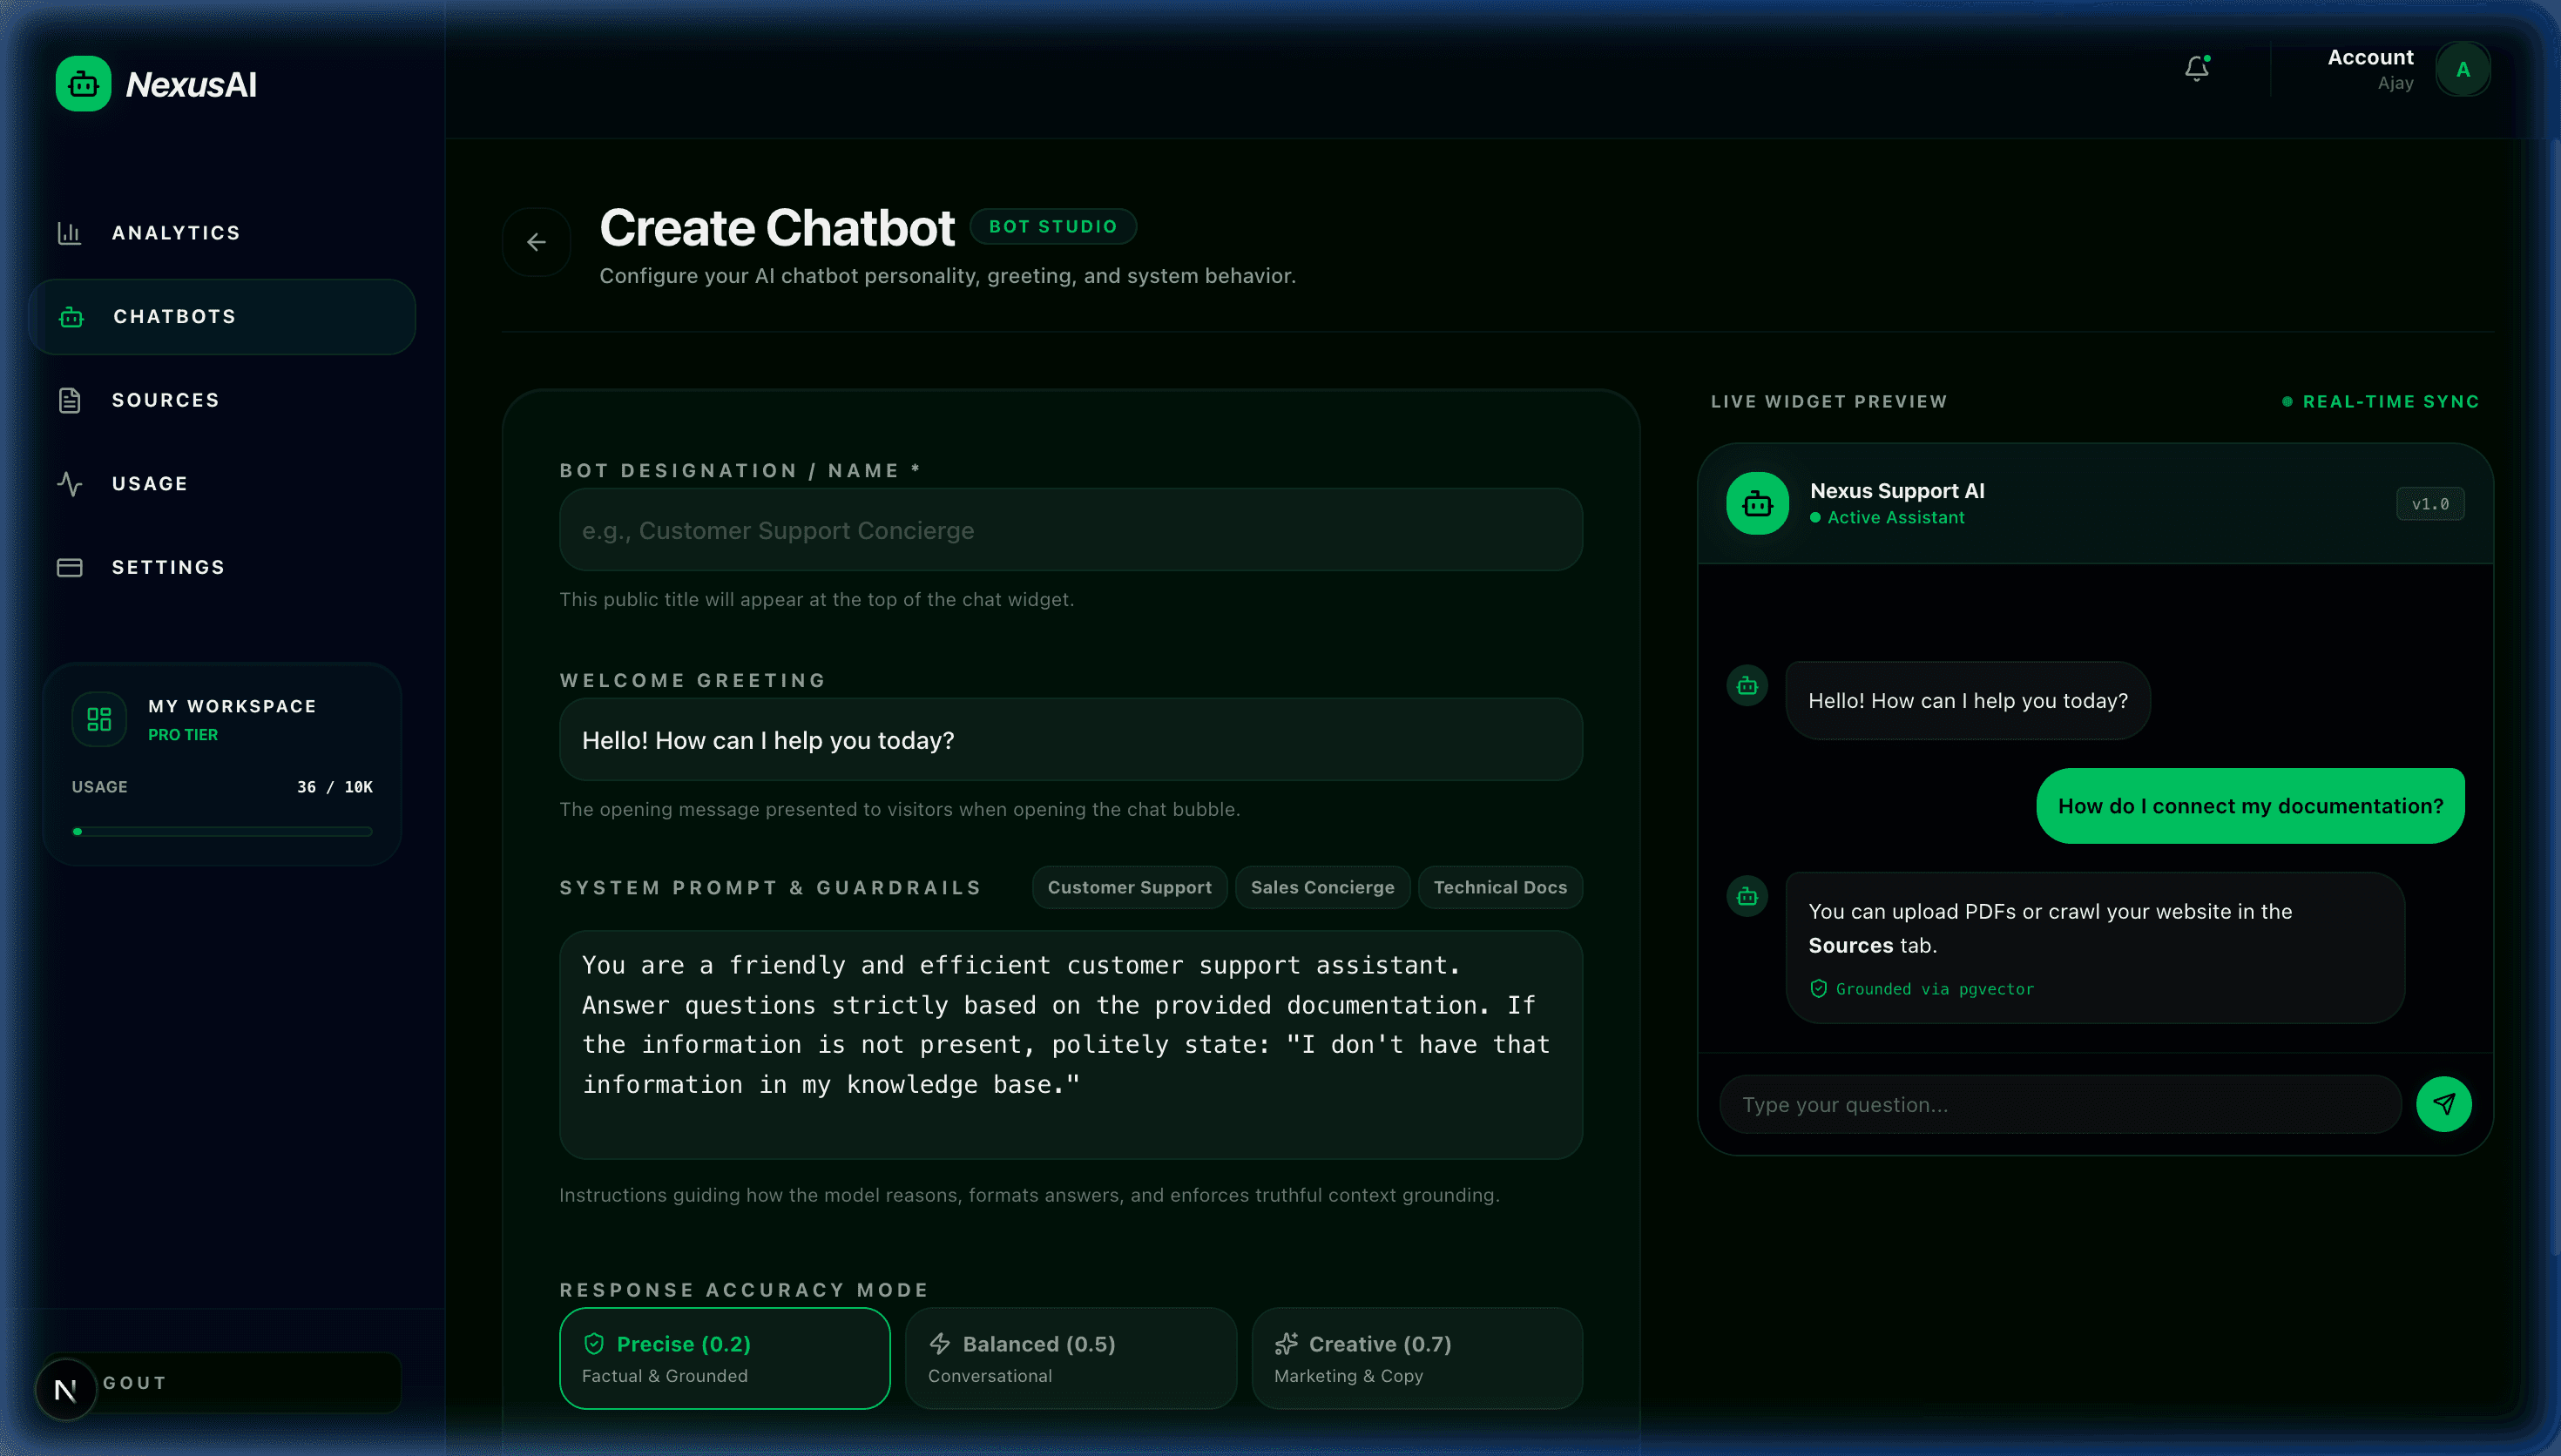
From your sidebar, navigate to Bots and click the "Create Bot" button. This opens the Bot Studio configuration interface where you can specify core metadata and conversational rules.
Bot Name & Description
Give your bot a recognizable name (e.g. "Support Concierge") and an internal description to identify its role within your workspace.
Welcome Greeting & Theme Color
Set the opening message visitors see when opening the chat bubble, and pick an accent color that matches your brand guidelines.
2Fine-Tuning the System Prompt & Guardrails
The system prompt acts as the foundational personality and rulebook for your AI assistant. It governs how the bot speaks and ensures answers remain strictly grounded in your uploaded knowledge sources.
1. Answer user inquiries truthfully and concisely using ONLY the provided retrieved document context.
2. If an answer cannot be found in the provided documentation, politely reply: "I don't have that information in my knowledge base."
3. Do not make assumptions or fabricate pricing, technical specifications, or policies.
4. Format output cleanly with markdown bullet points and code blocks where applicable.
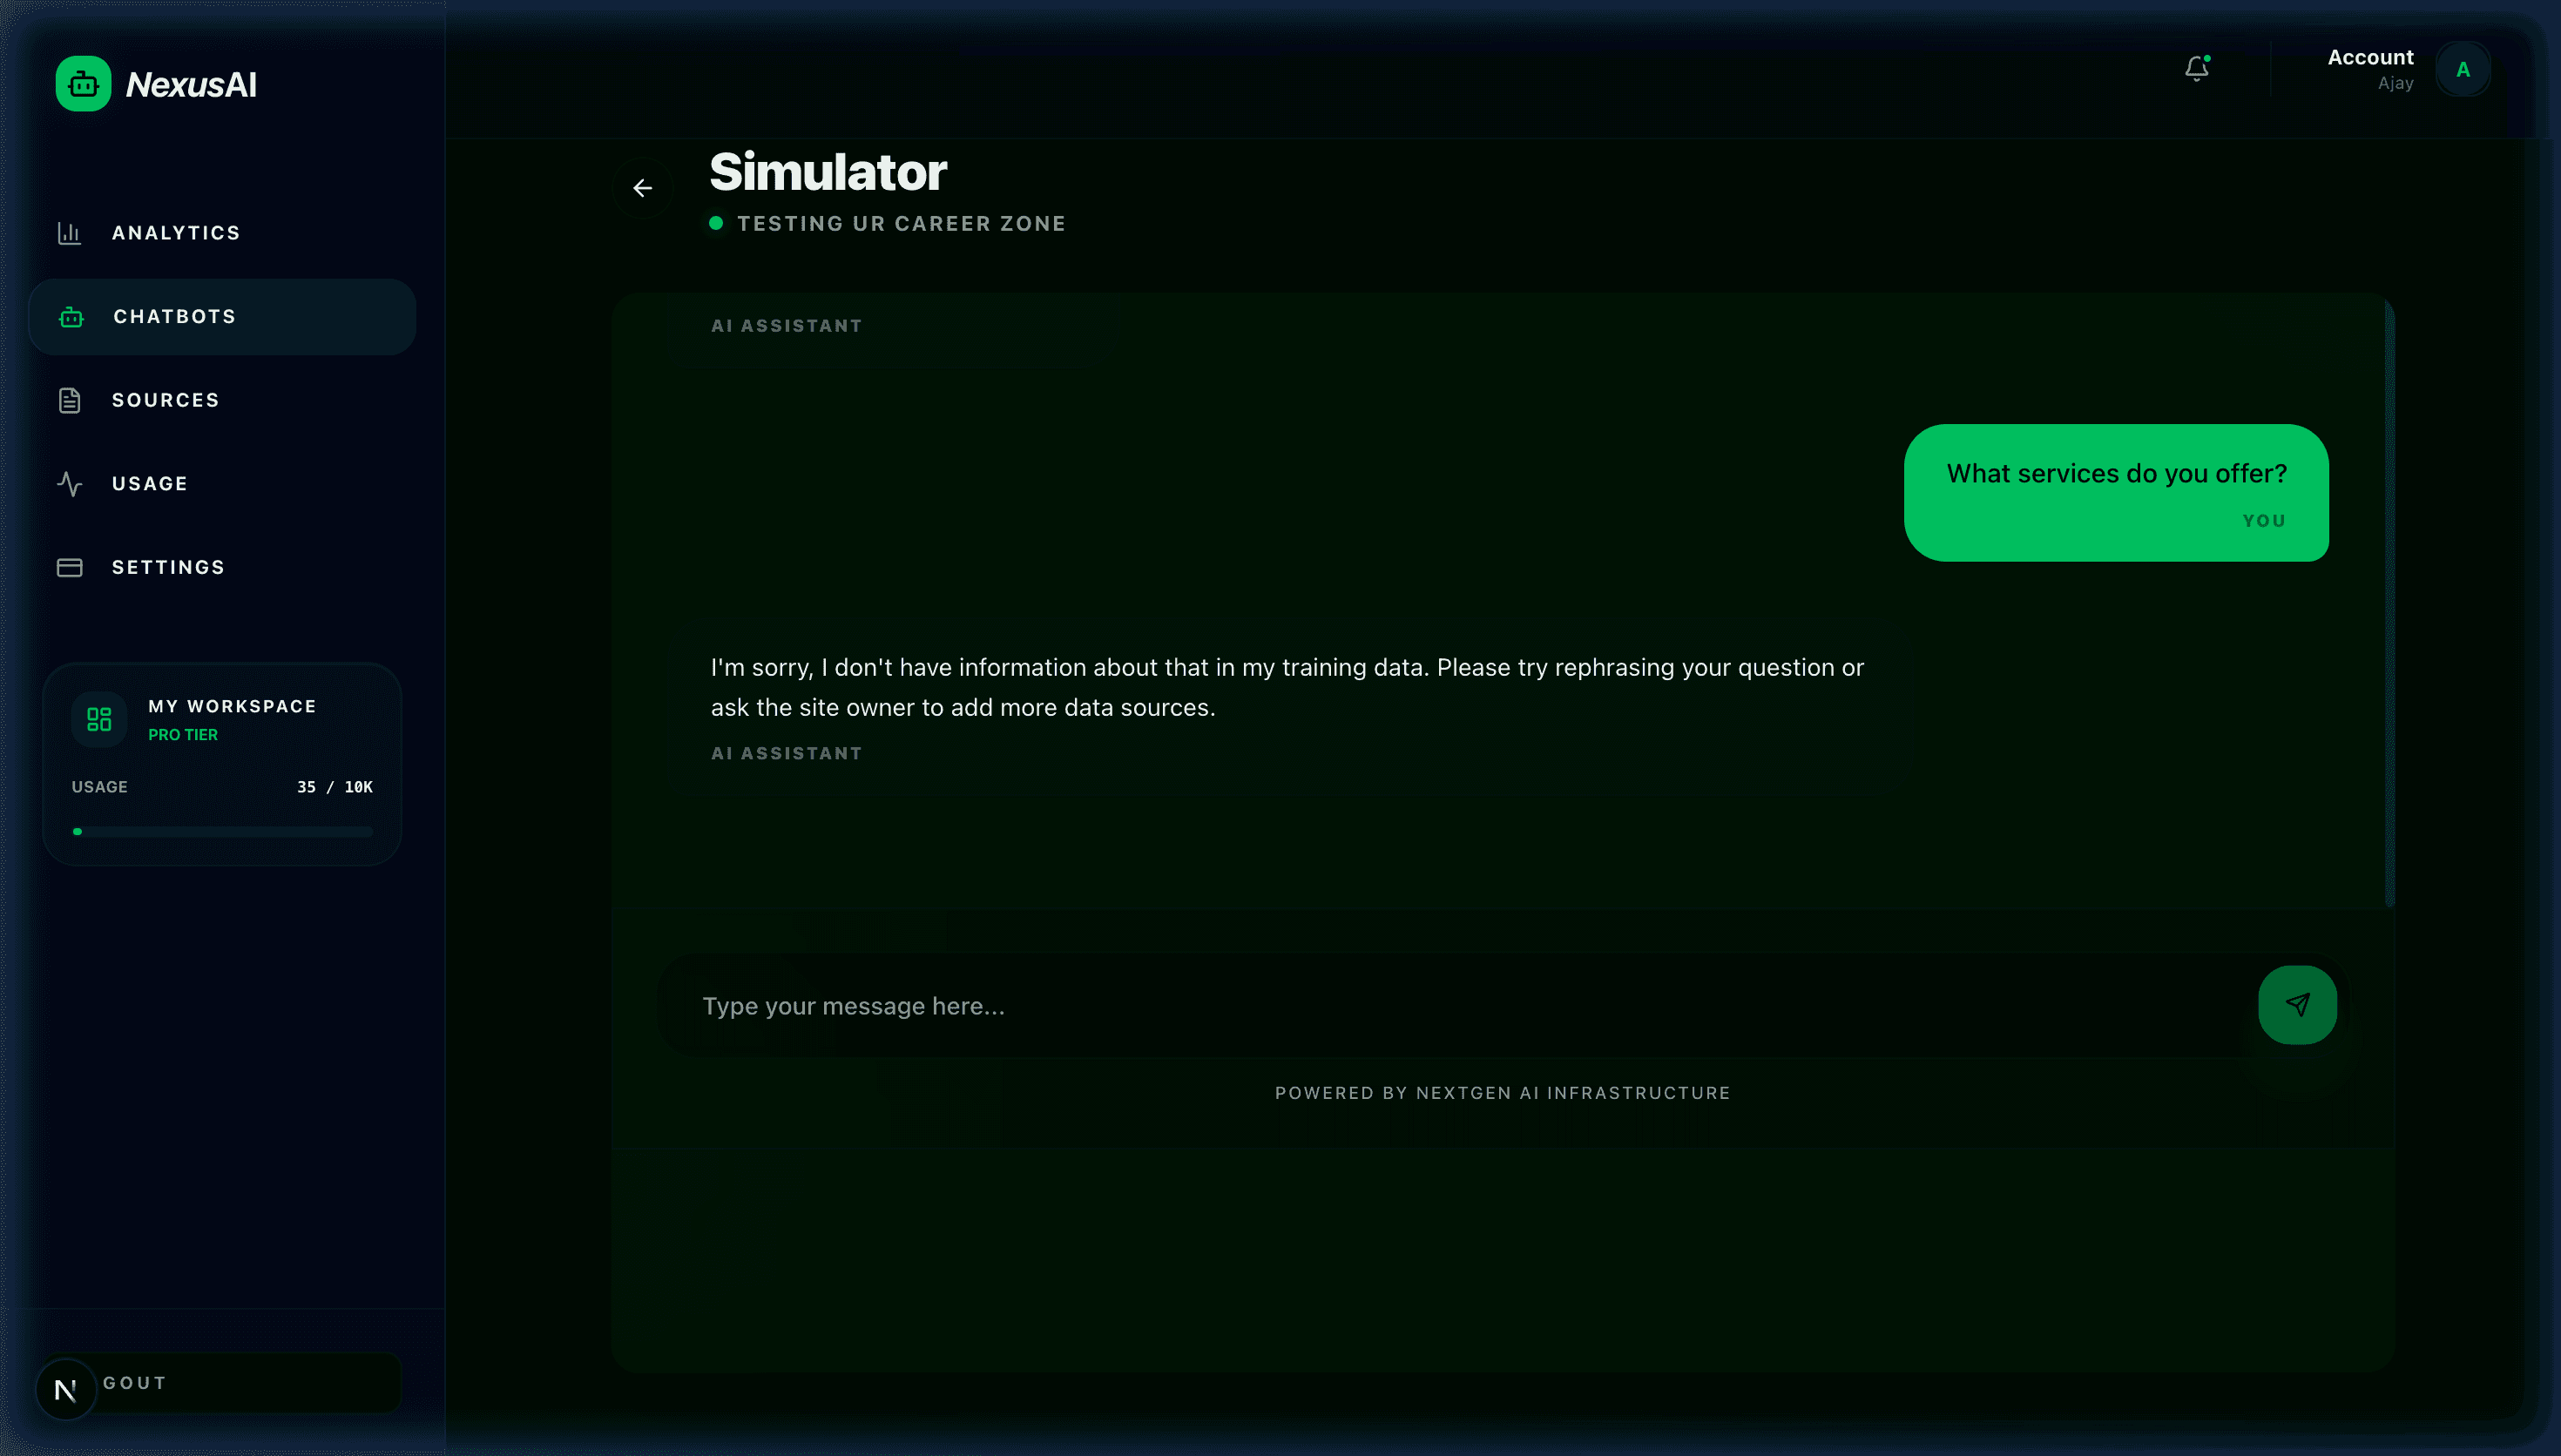
3Testing in the Interactive Playground
Before embedding your bot onto a public website, open the Test / Simulator tab to interact in real-time. Verify that your chatbot streams truthful, context-grounded answers based on your knowledge base.